How to Grill Perfect Chicken Thighs and Vegetables Every Time
Master the art of grilled chicken thighs with perfectly charred vegetables. This complete guide covers seasoning, timing, temperature, and foolproof techniques.
Grilled chicken thighs with colorful vegetables and crispy potato wedges might be one of the most satisfying meals you can pull together on a weeknight. It's simple, endlessly customizable, and delivers that smoky, charred flavor that makes everyone come back for seconds. This guide breaks down exactly how to nail juicy, flavorful chicken thighs and perfectly cooked vegetables every single time.
Why Chicken Thighs Beat Chicken Breasts for Grilling
Let's settle this right now: chicken thighs are the superior choice for grilling. They have more fat than breasts, which means more flavor and a much wider margin for error. You can cook them a little longer without turning them into dry, rubbery disappointment.
Thighs also develop better char and caramelization on the grill. The higher fat content helps seasonings stick and creates those crispy, golden-brown edges that make grilled chicken irresistible. And because dark meat has more connective tissue, it stays tender even when you push it to higher internal temperatures.
Bone-in, skin-on thighs are the gold standard for maximum flavor, but boneless skinless thighs work beautifully too—especially when you're aiming for faster cook times or easier meal prep. Either way, you're working with a cut that's forgiving, flavorful, and affordable.
The Best Seasonings for Grilled Chicken Thighs
Chicken thighs can handle bold, assertive seasonings. Unlike delicate white meat, dark meat stands up to smoke, spice, garlic, and umami without getting overwhelmed.
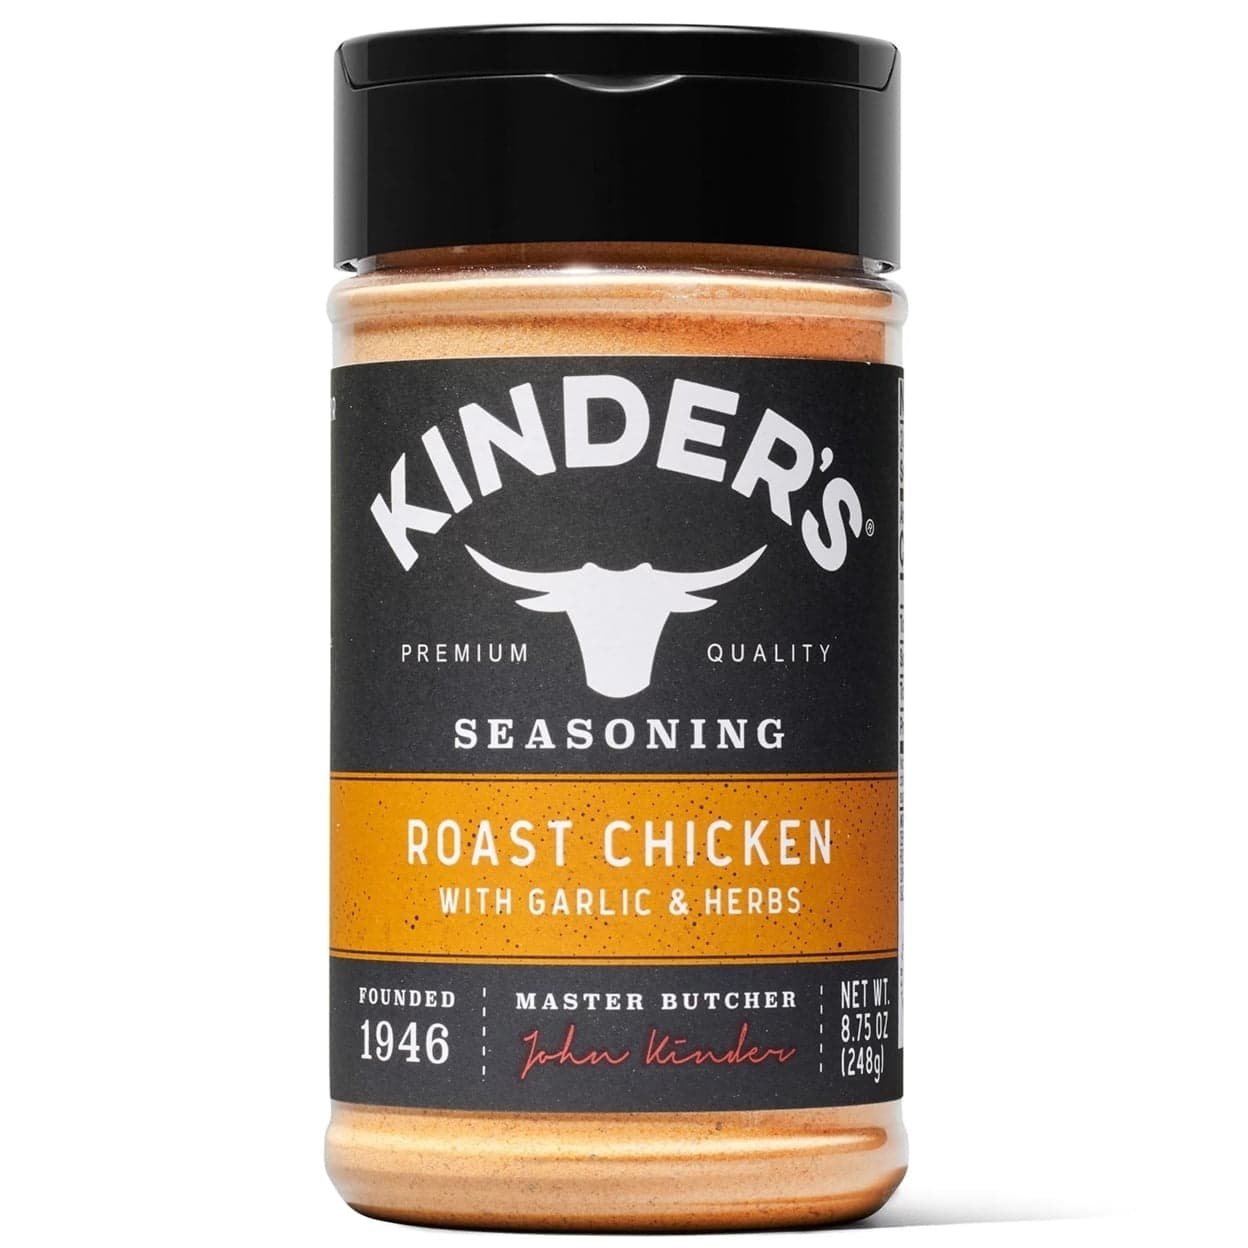
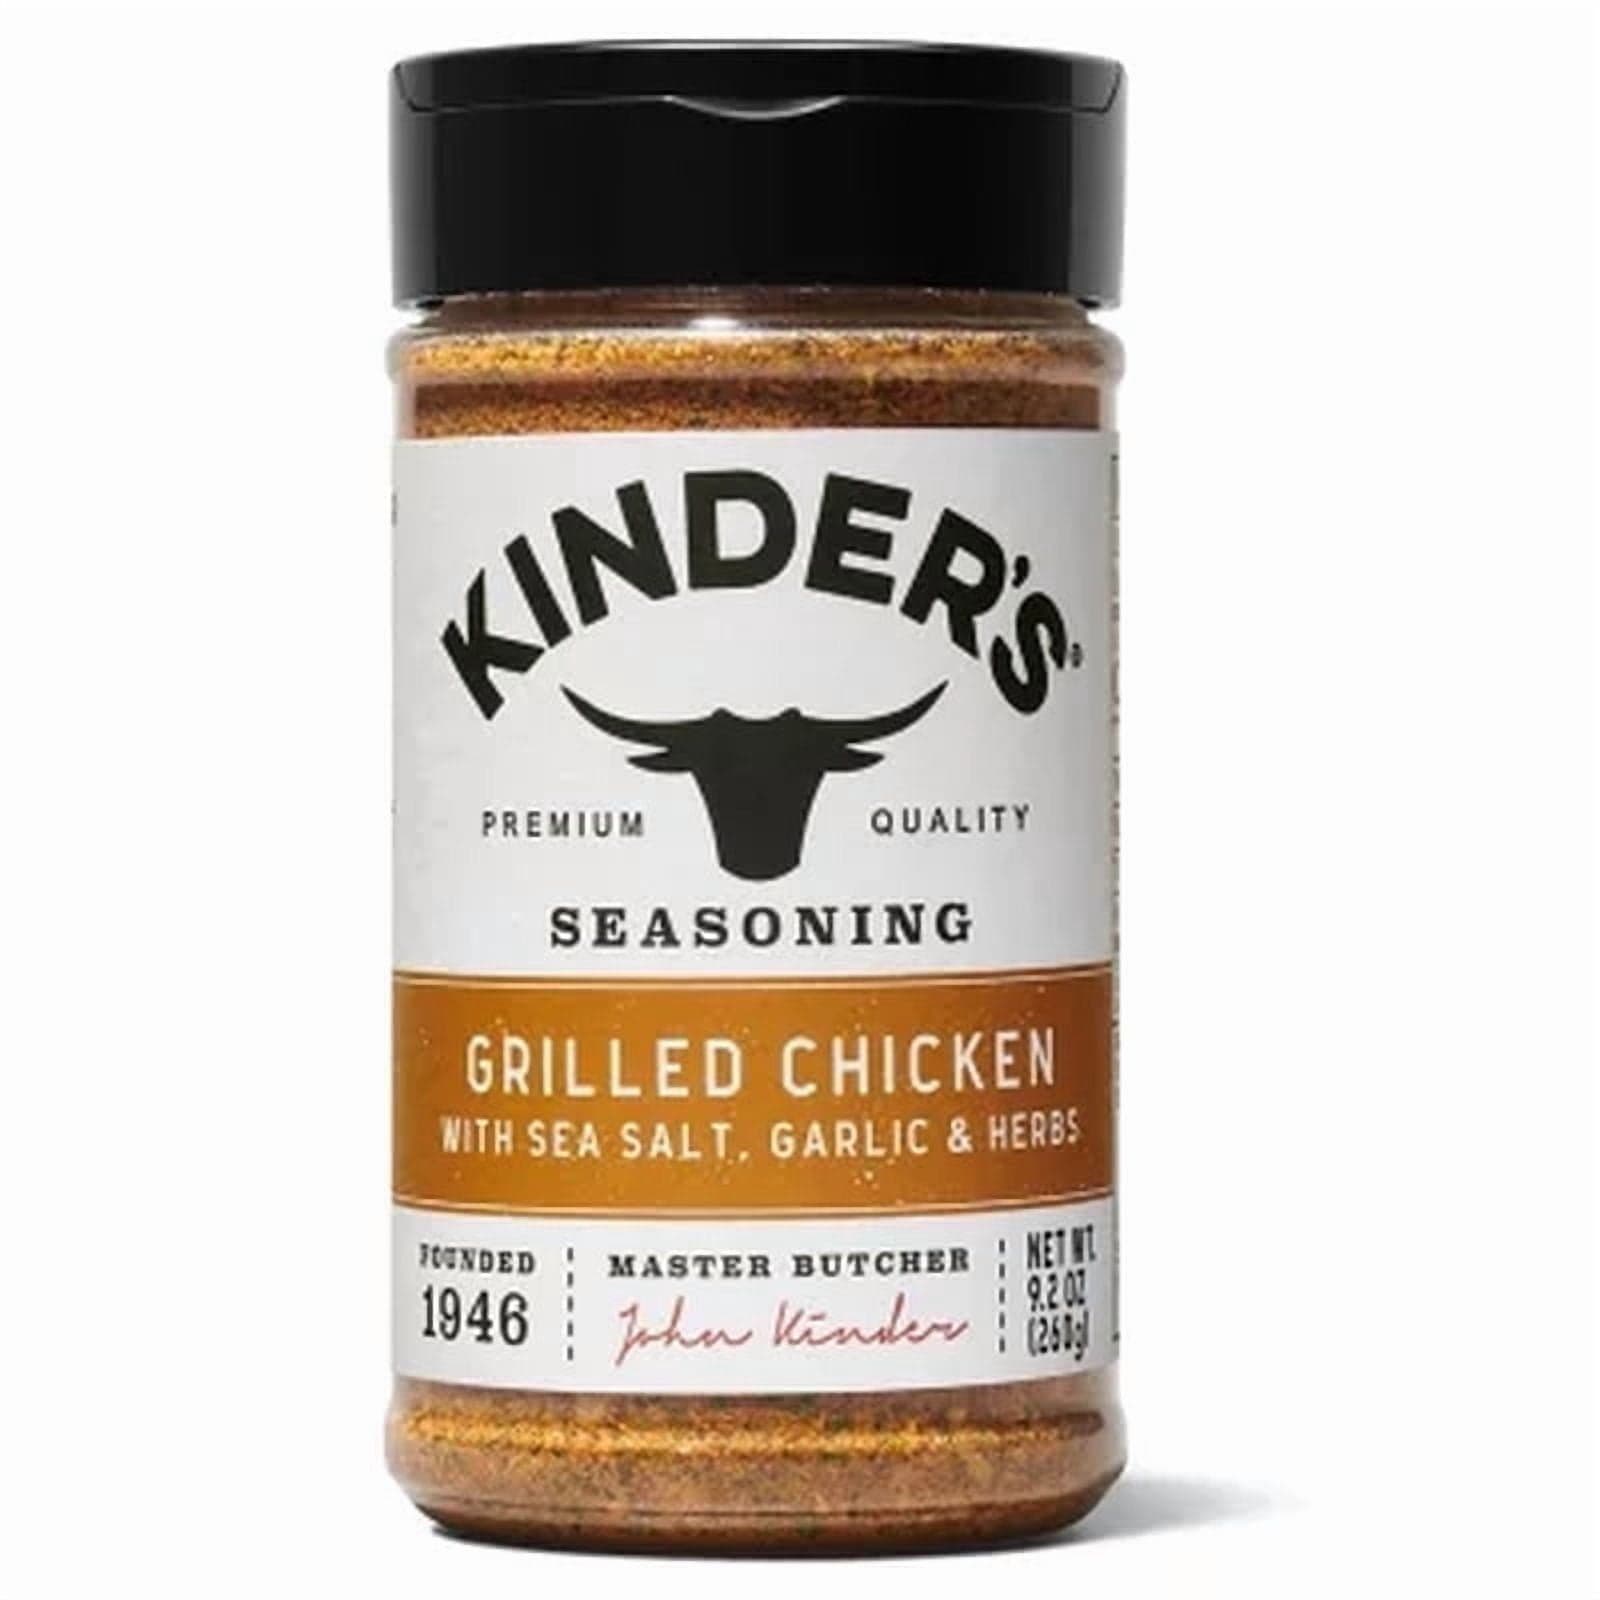
For a versatile, crowd-pleasing option, reach for Kinder's Grilled Chicken Seasoning. It brings garlic, herbs, and a subtle citrus note that works with just about any vegetable pairing. Apply it generously—at least 30 minutes before grilling if you have time, or even the night before for deeper penetration.
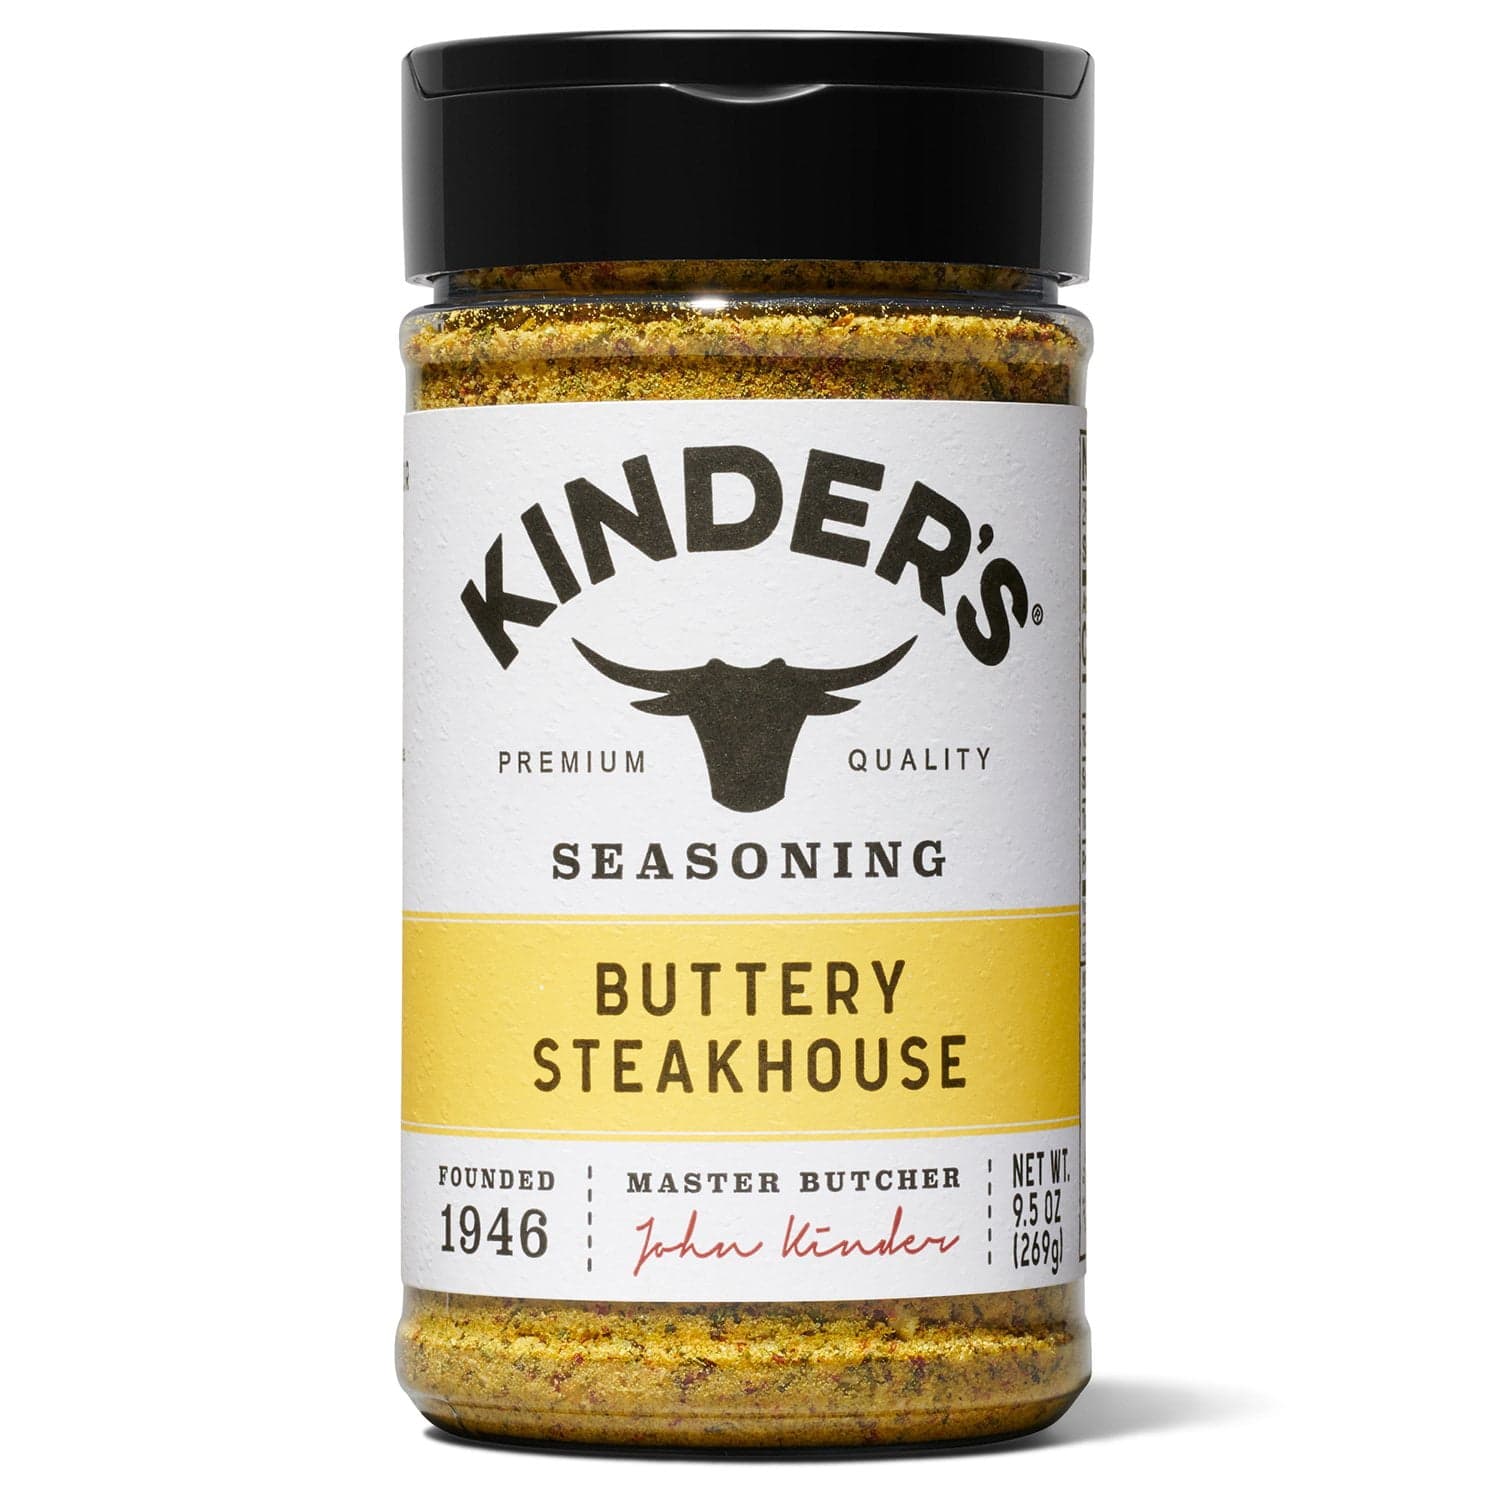
If you want something richer and more steakhouse-style, try Kinder's Buttery Garlic and Herb Seasoning. It's USDA organic, packed with roasted garlic and parsley, and adds a luxurious, almost buttery finish to the chicken without any actual butter required.
Other excellent choices include:
- Lemon and herb blends – bright and fresh, ideal for summer grilling
- Smoky paprika and chili powder – for a Southwestern vibe
- Korean BBQ seasoning – sweet, savory, and slightly spicy
- Simple salt, pepper, and garlic – never underestimate the classics
Whichever seasoning you choose, make sure to coat both sides of the chicken evenly. Pat the thighs dry with paper towels first—moisture is the enemy of good seasoning adhesion and crispy skin.
Preparing Your Vegetables for the Grill
Zucchini, bell peppers, and red onions are the holy trinity of grilled vegetables. They cook at roughly the same rate, they hold up well to high heat, and they bring color, sweetness, and texture to the plate.
Zucchini
Cut zucchini into planks or rounds about half an inch thick. Any thinner and they'll turn mushy; any thicker and they won't cook through before the outside chars. Toss them lightly in olive oil, season with salt and pepper, and optionally add a pinch of garlic powder or dried oregano.
Zucchini releases water as it cooks, so don't crowd the grill. Give each piece space to breathe and develop those beautiful grill marks without steaming.
Bell Peppers
Red, yellow, and orange bell peppers are sweeter and more visually appealing than green. Cut them into wide strips or quarters, removing all seeds and membranes. Like zucchini, toss them in olive oil and season simply—salt, pepper, maybe a touch of smoked paprika.
Peppers can handle direct high heat. They'll blister and char on the edges, which adds incredible flavor. Don't flip them too often—let them sit and develop that char before turning.
Red Onions
Slice red onions into thick rounds or wedges, keeping the root end intact if possible so the layers stay together. Brush them with oil and season lightly. Onions caramelize beautifully on the grill, turning sweet and tender with crispy, charred edges.
If you're using onion rounds, consider skewering them horizontally to make flipping easier and prevent them from falling apart through the grates.
Grill Setup and Temperature Control
Set up a two-zone fire—direct high heat on one side, indirect medium heat on the other. This gives you flexibility to sear, then finish cooking without burning.
For a gas grill, preheat all burners on high for 10-15 minutes, then turn one or two burners down to medium or off entirely. For charcoal, pile coals on one side and leave the other side empty.
Target a grill temperature around 400-450°F for the hot zone. This is hot enough to get good char and grill marks without incinerating your food.
Grilling Chicken Thighs: Step-by-Step
Start with chicken at room temperature—pull it out of the fridge 20-30 minutes before grilling. Cold chicken on a hot grill leads to uneven cooking.
- Oil the grates. Use tongs and a paper towel dipped in vegetable oil. This prevents sticking and makes cleanup easier.
- Place thighs skin-side down (if using skin-on) over direct heat. Close the lid.
- Resist the urge to flip early. Let the chicken cook undisturbed for 6-8 minutes. It will release naturally when it's ready.
- Flip once and move to indirect heat if the skin is getting too dark. Close the lid and cook another 8-12 minutes.
- Check internal temperature. You're looking for 175°F in the thickest part. Dark meat is safe at 165°F, but it's more tender and juicy at 175°F.
- Rest for 5 minutes before serving. This lets the juices redistribute.
If you're using boneless thighs, cooking time will be shorter—usually 5-6 minutes per side over direct heat. Use a meat thermometer every time. Guessing leads to dry chicken or undercooked centers.
Grilling the Vegetables
Add vegetables to the grill about halfway through the chicken's cook time. They'll need 8-12 minutes total, depending on thickness and grill temperature.
Place them over direct heat and flip every 3-4 minutes. You want grill marks and slight char without turning them to mush. Zucchini cooks fastest, followed by peppers, then onions.
Pull vegetables off the grill when they're tender but still have a little bite. They'll continue to cook slightly as they rest on the serving platter.
Air-Fried Potato Wedges: The Perfect Side
While the grill does its magic, your air fryer can handle the potato wedges. This combo—grill + air fryer—is a weeknight power move that delivers restaurant-quality results without heating up your whole kitchen.
How to Make Crispy Potato Wedges in the Air Fryer
Use russet potatoes or Yukon golds. Russets get crispier; Yukons have better flavor and creamier interiors. Either works.
- Cut potatoes into wedges. Slice each potato in half lengthwise, then each half into 3-4 wedges. Aim for uniform size so they cook evenly.
- Soak in cold water for 15-30 minutes if you have time. This removes excess starch and helps them crisp up.
- Dry thoroughly. Pat with paper towels or a clean kitchen towel. Moisture is the enemy of crispiness.
- Toss with oil and seasoning. Use about 1 tablespoon of oil per large potato. Season generously with salt, pepper, garlic powder, and paprika—or use a seasoning blend.
- Air fry at 400°F for 18-22 minutes. Shake the basket every 6-7 minutes for even browning.
- Finish with a sprinkle of fresh herbs or grated Parmesan if you're feeling fancy.
The result is crispy-edged, fluffy-centered potato wedges that rival any deep-fried version—with a fraction of the oil and cleanup.
Timing It All for a Hot, Fresh Dinner
Here's a timeline to get everything on the table at the same time:
- T-minus 30 minutes: Season chicken. Pull it out of the fridge. Soak potato wedges if desired.
- T-minus 25 minutes: Preheat grill and air fryer. Prep vegetables (slice, oil, season).
- T-minus 20 minutes: Start air-frying potato wedges.
- T-minus 15 minutes: Put chicken on the grill.
- T-minus 8 minutes: Add vegetables to the grill.
- T-minus 5 minutes: Pull chicken off, let it rest. Shake air fryer basket one last time.
- T-minus 0: Everything hits the table hot.
This timeline assumes bone-in thighs. Adjust slightly if using boneless or if your grill runs hot or cool.
Flavor Variations and Seasoning Swaps
Once you nail the basic technique, you can spin this meal in a dozen different directions just by changing the seasoning.
Mediterranean
Use Kinder's Lemon Butter Dill Seasoning on the chicken and vegetables. Serve with tzatziki, crumbled feta, and a squeeze of fresh lemon. Add cherry tomatoes to the vegetable mix.
Southwestern
Season chicken with chili powder, cumin, smoked paprika, and garlic. Grill corn alongside the vegetables. Top with fresh cilantro, lime juice, and a dollop of sour cream or Mexican crema.
Korean-Inspired
Use Kinder's Korean BBQ Seasoning on the chicken. Serve with kimchi, sesame seeds, and a drizzle of gochujang mayo. Swap the potato wedges for white rice or rice cakes.
Garlic Lover's Dream
Go all-in with garlic-forward seasonings on both the chicken and vegetables. Finish with fresh chopped parsley and a drizzle of garlic-infused olive oil. Serve with aioli for dipping the potato wedges.
Common Mistakes to Avoid
Even a simple meal like grilled chicken and vegetables has pitfalls. Here's what to watch out for.
Flipping Too Often
Resist the urge to constantly flip and move your food. Let the grill do its job. Chicken needs time to develop a crust before it releases from the grates. Flipping too early tears the skin and prevents proper browning.
Overcrowding the Grill
Leave space between each piece of food. Overcrowding traps steam and prevents proper searing. If your grill isn't big enough for everything at once, work in batches or use the indirect zone as a holding area.
Not Using a Thermometer
Eyeballing doneness is a recipe for dry, overcooked chicken or dangerously undercooked meat. A good instant-read thermometer costs less than $20 and removes all guesswork. It's the single best investment you can make for better grilling.
Under-Seasoning
Chicken thighs and vegetables can handle more seasoning than you think. Don't be shy—especially with salt. Under-seasoned food tastes flat no matter how perfect your technique is.
Skipping the Rest
Letting chicken rest after cooking isn't optional—it's essential. Cutting into it immediately causes all the juices to run out onto the cutting board instead of staying in the meat. Five minutes of patience makes a huge difference.
Serving Suggestions and Sides
This meal is complete on its own, but a few additions can take it to the next level.
- Fresh herb salad: Toss arugula or mixed greens with lemon juice, olive oil, and shaved Parmesan.
- Grilled bread: Brush sliced baguette or ciabatta with olive oil and grill for 2-3 minutes per side.
- Dipping sauces: Garlic aioli, chimichurri, tzatziki, or hot honey all work beautifully.
- Grain salad: Couscous, quinoa, or farro tossed with olive oil, lemon, and fresh herbs.
- Pickled vegetables: Quick-pickled red onions or cucumbers add brightness and cut through the richness.
Meal Prep and Leftovers
This meal reheats well, which makes it perfect for meal prep. Store chicken, vegetables, and potato wedges in separate airtight containers in the fridge for up to four days.
To reheat chicken thighs, use a 350°F oven for 10-12 minutes. The microwave works in a pinch but won't maintain the crispy skin. Vegetables reheat best in a skillet over medium-high heat with a splash of olive oil. Potato wedges can go back in the air fryer at 375°F for 5-6 minutes to crisp up again.
Leftover grilled chicken is incredibly versatile. Slice it and use it in salads, grain bowls, tacos, sandwiches, or pasta. The vegetables are perfect tossed with pasta, blended into a soup, or stuffed into a wrap with hummus and feta.
Why This Meal Works for Weeknights
The beauty of this combination is its simplicity and flexibility. You're not juggling complicated techniques or expensive ingredients. Everything cooks relatively quickly. Cleanup is minimal—especially if you line your air fryer basket with parchment.
It's also endlessly adaptable. Use whatever vegetables are in season or on sale. Swap the potatoes for sweet potatoes or skip them entirely and serve rice. Change the seasoning to match your mood or what's in your pantry.
And because you're using the grill and air fryer simultaneously, you're not heating up your whole kitchen—a massive win during warmer months.
Scaling Up for a Crowd
This meal scales beautifully for larger gatherings. Chicken thighs are affordable enough to buy in bulk, and vegetables are easy to multiply.
If you're feeding a crowd, set up a full grill with multiple zones. Keep cooked chicken warm on the indirect side while you finish the vegetables. Run multiple batches of potato wedges through the air fryer, keeping finished batches warm in a low oven.
Consider setting out a variety of dipping sauces and toppings so guests can customize their plates. This turns a simple grilled dinner into an interactive, build-your-own-plate experience that feels more special than the effort required.
Ready to Fire Up the Grill?
Grilled chicken thighs with vegetables and air-fried potato wedges is the kind of meal you'll come back to again and again. It's foolproof, flexible, and delivers serious flavor without demanding hours in the kitchen. Master the basic technique, experiment with different seasonings, and you'll have a go-to weeknight dinner that never gets boring.
Stock up on versatile, high-quality seasonings that work across proteins and vegetables, invest in a reliable meat thermometer, and trust the process. Your grill—and your dinner table—will thank you.
Shop the products mentioned in this article
Free shipping on every order. No minimums, no gimmicks.