How to Smoke a Perfect Brisket Flat at Home (2026 Guide)
Smoking a brisket flat at home is easier than you think. This complete guide covers trimming, seasoning, temperature control, and wrapping techniques for tender, juicy results every time.
Smoking a brisket flat at home has become one of the most talked-about challenges in backyard BBQ, and for good reason. Unlike the whole packer brisket, the flat is leaner, more affordable, and fits on smaller grills—but it also demands precise technique to avoid drying out. Whether you're a first-timer or looking to nail your next cook, this guide walks you through every step to achieve tender, smoke-kissed brisket that rivals any barbecue joint.
Why the Brisket Flat Is Perfect for Home Cooks
The brisket flat—sometimes called the "first cut" or "lean cut"—is the rectangular, leaner portion of the whole brisket. It typically weighs between 5 and 10 pounds, making it far more manageable than a 12- to 18-pound packer brisket. For home cooks with standard-size kettle grills, offset smokers, or pellet grills, the flat offers a realistic weekend project without needing to babysit a monster cut for 16 hours.
Because it's leaner, the flat cooks faster—usually in 6 to 9 hours depending on size and temperature. But that also means less intramuscular fat to keep it moist, so seasoning, smoke management, and the wrap (or no-wrap) decision become even more critical. Get those right, and you'll slice into meat that's tender, flavorful, and impressively Instagram-worthy.
Selecting and Trimming Your Brisket Flat
Start at the butcher counter or meat department. Look for a flat with a thin, even fat cap—ideally about ¼ inch thick. Avoid flats with huge pockets of hard fat or uneven thickness, which cook unevenly. USDA Choice grade is the sweet spot for most budgets; Prime will give you a bit more marbling but isn't essential for great results.
Once you're home, trimming is your first real task. Place the flat fat-cap-up on a cutting board. Use a sharp boning or fillet knife to shave the fat cap down to a uniform ¼ inch. Don't go all the way to the meat—you want that protective layer to baste the flat as it renders. Flip it over and trim any silver skin or hard membrane from the lean side; these won't render and can create chewy spots.
Pay special attention to the edges. If one end is significantly thinner (the "flat end" tapers naturally), consider folding and tying it with butcher's twine so it cooks at the same rate as the thicker point end. This small step prevents the thin end from drying out while you wait for the thick end to reach target temp.
Seasoning the Flat: Simple or Bold
Traditional Texas-style brisket leans on a 50/50 mix of coarse black pepper and kosher salt—nothing more. It's minimalist, and it lets the beef and smoke shine. But there's no rule that says you can't layer in more flavor, especially if you're cooking a leaner flat that benefits from extra umami and seasoning penetration.
For a classic Texas approach, use about 1 tablespoon of coarse black pepper and 1 tablespoon of kosher salt per pound. Apply it generously and evenly, pressing it into the meat so it adheres. Let the seasoned flat sit uncovered in the fridge for at least 2 hours, or overnight if you have time. This dry-brining step helps the seasoning penetrate and firms up the surface for better bark formation.
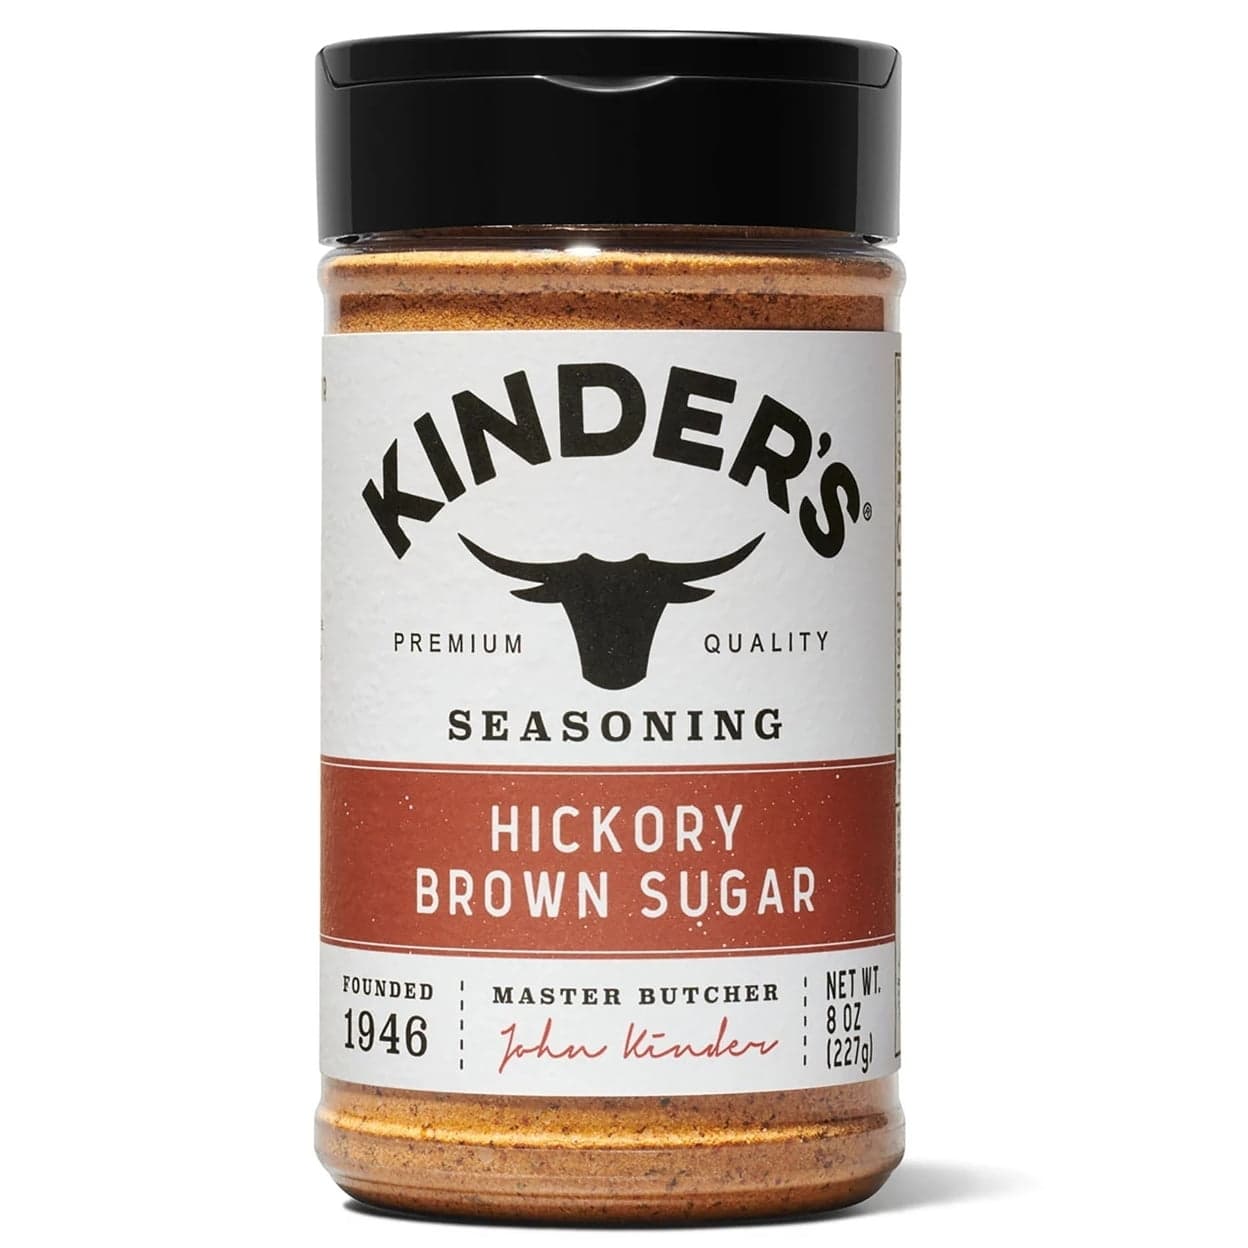
If you want a richer, more complex crust, reach for a blend that includes garlic, onion, paprika, and a hint of sweetness. Kinder's Hickory Brown Sugar Seasoning is a favorite among home pitmasters for brisket—it brings smoke-forward sweetness and caramelizes beautifully over a long cook. Another excellent choice is Kinder's Whiskey Peppercorn Seasoning, which adds warmth and depth without overpowering the beef. Either way, apply your rub at least an hour before the cook, and let the flat come to room temperature for 30–60 minutes before it hits the smoker.
Setting Up Your Smoker for Low and Slow
Target temperature is 225–250°F. This range is slow enough to break down collagen and render fat, but not so low that you spend all day waiting. For fuel, go with hardwood lump charcoal or briquettes plus wood chunks—oak, hickory, or post oak are traditional; fruit woods like cherry or apple add a sweeter note.
If you're using an offset smoker, build your fire in the firebox and let it settle to a steady temp before adding the brisket. Use a digital thermometer with a probe to monitor both smoker temp and internal meat temp throughout the cook. For kettle grills, set up a two-zone fire with coals banked to one side and a water pan on the cool side to stabilize humidity. Pellet grill users have it easiest—just set the temp, load the hopper, and let the auger do the work.
Place the brisket flat fat-cap-up (or fat-cap-down if your heat source is directly below—this is debated, but fat-cap-up is more common). Position it on the cooler side of the grate, away from direct heat. Insert your probe thermometer into the thickest part of the flat, avoiding fat pockets.
The First Few Hours: Building Bark and Managing Smoke
For the first 3–4 hours, your goal is smoke absorption and bark development. Keep the smoker steady at 225–250°F and resist the urge to open the lid. Every peek costs you 10–15 minutes of heat recovery. The surface of the brisket should darken and develop a tacky, mahogany crust—the "bark."
Don't over-smoke. Heavy, billowing white smoke creates a bitter, acrid flavor. You want thin, blue smoke that's almost invisible. If you see thick white clouds, your fire is smoldering, not burning cleanly. Adjust airflow or add a few lit coals to get combustion back on track.
Around the 3-hour mark, the internal temp will typically hit 150–165°F. This is when many pitmasters choose to wrap, though it's not mandatory. We'll cover that decision next.
To Wrap or Not to Wrap: The Texas Crutch
Wrapping your brisket flat in foil or butcher paper is known as the "Texas crutch." It speeds up the cook, helps push through the stall (a plateau around 160–170°F where evaporative cooling slows the temp rise), and retains moisture. The trade-off? A softer bark.
Here's when and how to wrap:
- Foil wrap: Creates a steam environment. Faster cook, more tender meat, but the bark will soften significantly. Wrap tightly at 160–165°F internal, return to smoker, and cook until 200–205°F.
- Butcher paper wrap: Allows some moisture to escape while still insulating the meat. Bark stays firmer, cook time is slightly longer. Wrap at 165–170°F and cook to the same target.
- No wrap (naked): Maximum bark, longest cook, highest risk of drying out the lean flat. Only recommended if you're confident in your smoker's humidity and temp control.
For a first-time brisket flat, butcher paper is the sweet spot. It gives you insurance against drying out while preserving most of the bark you worked hard to build.
Pushing Through the Stall and Reaching Target Temp
Once wrapped (or not), continue cooking at 225–250°F. The stall can last 1–3 hours, during which the internal temp barely budges. This is normal—collagen is converting to gelatin, and moisture is evaporating. Patience wins here.
Your target internal temperature is 200–205°F in the thickest part of the flat. But temp alone doesn't tell the whole story. The flat should feel probe-tender: when you insert a thermometer or skewer, it should slide in and out like soft butter, with almost no resistance. If you hit 203°F but it's still firm, keep cooking. Tenderness trumps temperature every time.
Some flats finish as early as 6 hours; others take 9 or 10, especially if they're thick or you're running at the lower end of the temp range. Plan for about 1 to 1.5 hours per pound as a rough guide, but let the meat—not the clock—tell you when it's done.
Resting: The Step You Can't Skip
When your flat is probe-tender and sitting at 200–205°F, pull it from the smoker. Do not slice it immediately. Resting is absolutely essential.
If you wrapped in foil or butcher paper, leave it wrapped. Place the whole package in a dry cooler (no ice) lined with old towels. Let it rest for at least 1 hour—2 hours is even better. This allows the juices, which have been driven toward the surface by heat, to redistribute back into the muscle fibers. Slice too early, and those juices run all over your cutting board instead of staying in the meat.
The flat will stay piping hot for hours in a cooler, so you have flexibility for timing your meal. Some competition pitmasters rest brisket for 4–6 hours in a heated cambro. You don't need to go that far, but don't shortchange the rest.
Slicing Brisket Flat for Maximum Tenderness
Unwrap your rested flat and place it on a cutting board. Identify the direction of the grain—the muscle fibers run lengthwise on a flat. You must slice against the grain, perpendicular to those fibers, or the meat will be chewy no matter how perfectly you cooked it.
Use a long, sharp slicing knife or carving knife. Start at the thinner end and cut slices about ¼ inch thick—thin enough to be tender, thick enough to hold together. If you hit a dry spot or the slices start to fall apart, you've gone too thin. Adjust and keep going.
Arrange your slices on a platter, slightly overlapping. The edges should show a dark bark and a pink smoke ring just below the surface, with moist, beefy-red interior. If you see grey or brown all the way through, your smoker temp was too high or the cook went too long. Make a note for next time.
Serving and Sauce Pairings
Purists serve brisket with nothing but sliced white bread, pickles, and onions. The meat speaks for itself. But if you want to offer sauce on the side, go with a thin, vinegar-based mop sauce or a classic Kansas City-style BBQ sauce.
For a premium finish, Kinder's Gold Label Founder's Reserve BBQ Sauce brings molasses depth and subtle smoke that complements brisket without masking it. Brush a little on the slices or serve it in a small bowl for dipping. Avoid thick, sugary sauces that compete with the bark.
Pair your brisket flat with classic sides: creamy coleslaw, smoked baked beans, mac and cheese, or a simple green salad. Cornbread or Texas toast rounds out the plate. And don't forget cold beer or iced tea—brisket is rich, and you'll want something refreshing to balance it.
Common Mistakes and How to Avoid Them
Mistake #1: Cooking too hot. Running your smoker at 275–300°F might save time, but it doesn't give collagen enough time to break down gently. Stick to 225–250°F for the most forgiving results.
Mistake #2: Not trimming the fat cap. A thick fat cap won't render fully and creates a greasy, unpleasant mouthfeel. Trim to ¼ inch.
Mistake #3: Opening the smoker constantly. Every time you lift the lid, you lose heat and extend the cook. Trust your thermometer and leave it closed.
Mistake #4: Slicing with the grain. This is the #1 texture killer. Always slice against the grain.
Mistake #5: Skipping the rest. Impatience costs you juice and tenderness. Rest for at least an hour, no exceptions.
Leftover Brisket Ideas
If you're lucky enough to have leftovers (or smart enough to cook extra), brisket flat reheats beautifully and shines in a dozen different dishes. Chop it for brisket tacos with Kinder's Taco Seasoning, pile it onto nachos, fold it into scrambled eggs for breakfast burritos, or layer it into a grilled cheese with sharp cheddar and pickled jalapeños.
You can also make brisket fried rice, brisket chili, or even brisket pizza. Vacuum-seal portioned slices with a bit of the resting juices and freeze for up to 3 months. Reheat gently in a low oven (250°F) wrapped in foil with a splash of beef broth to keep it moist.
Final Tips for Brisket Flat Success
Smoking a brisket flat at home is part science, part art, and part patience. Here's your quick-reference checklist:
- Choose a flat with even thickness and a ¼-inch fat cap.
- Trim carefully, removing silver skin and hard fat.
- Season generously and let it rest in the fridge.
- Smoke at 225–250°F with clean, thin blue smoke.
- Wrap in butcher paper at 165–170°F to retain moisture and bark.
- Cook to 200–205°F internal and probe-tender texture.
- Rest for at least 1 hour in a cooler.
- Slice against the grain in ¼-inch slices.
- Serve with simple sides and optional sauce.
Your first brisket flat might not be competition-level, but it will be better than most restaurant brisket—and you'll learn something new with every cook. Keep notes on temps, timing, and what worked. Brisket rewards repetition.
Ready to Fire Up Your Smoker?
Smoking a brisket flat at home is one of the most satisfying projects you can tackle on your grill. It's forgiving enough for beginners, rewarding enough for experienced pitmasters, and delivers serious bragging rights at your next backyard gathering. With the right trimming, seasoning, temperature control, and rest, you'll turn out slices that are tender, juicy, and packed with smoky flavor.
Stock up on quality rubs, keep your smoker steady, and trust the process. Your perfect brisket flat is just one cook away.
Shop the products mentioned in this article
Free shipping on every order. No minimums, no gimmicks.