How to Build the Ultimate Homemade Cheeseburger (Better Than Any Restaurant)
Master the art of crafting restaurant-quality cheeseburgers at home with fresh-baked buns, perfectly seasoned patties, and triple-cooked fries that rival any diner.
The humble cheeseburger is having a serious moment. Scroll through Reddit's r/food and you'll find jaw-dropping posts of home cooks crafting burger experiences that put most restaurants to shame—complete with freshly baked buns, triple-cooked fries, and milkshakes thick enough to stand a spoon in. This isn't just about slapping meat on a grill. It's about understanding why a great burger works, and how to build one that makes people actually say "wow" out loud.
Whether you're firing up the grill for Memorial Day or just want to elevate Tuesday dinner, this guide walks you through every component of an unforgettable cheeseburger experience. We'll cover the patty (seasoning, fat ratio, technique), the bun (yes, homemade is worth it), the fries, and how to bring it all together into something worth posting about.
Why Homemade Burgers Beat Restaurant Burgers (When Done Right)
Restaurant burgers have one advantage: industrial-grade flat-top griddles that hit 500°F and create instant crust. But you have three advantages they don't.
Control over ingredients. You choose the beef blend, the fat ratio, the seasoning intensity. No mystery meat, no pre-formed frozen pucks.
Freshness. Your patty goes from fridge to heat in minutes, not hours. Your bun comes out of the oven still warm. Your toppings are prepped to order.
Customization. Want a double-stack with caramelized onions and garlic butter seasoning? Done. Craving a spicy kick with bourbon glaze? You're the chef.
The trick is nailing the fundamentals. A great homemade burger isn't about exotic ingredients—it's about technique, timing, and a few smart shortcuts that make the whole process manageable on a weeknight.
The Patty: Fat Ratio, Grind, and Why You Should Never Overwork the Meat
Start with 80/20 ground beef. That's 80% lean meat, 20% fat. This ratio gives you enough fat to stay juicy and flavorful without turning into a grease puddle. If you can find fresh-ground chuck from a butcher, even better—but supermarket 80/20 works beautifully.
Portion size matters. For a classic single, use 5 to 6 ounces of meat. For a smash-style thin patty, go 3 to 4 ounces and plan on stacking two. Form loose balls—don't compact them like you're making meatballs. Overworking the meat creates a dense, tough texture.
Season generously right before cooking, not in advance. Salt pulls moisture out of meat over time, which is great for a dry-aged steak but terrible for a burger. Hit both sides with coarse salt and black pepper. If you want more complexity, this is where a quality burger seasoning shines.
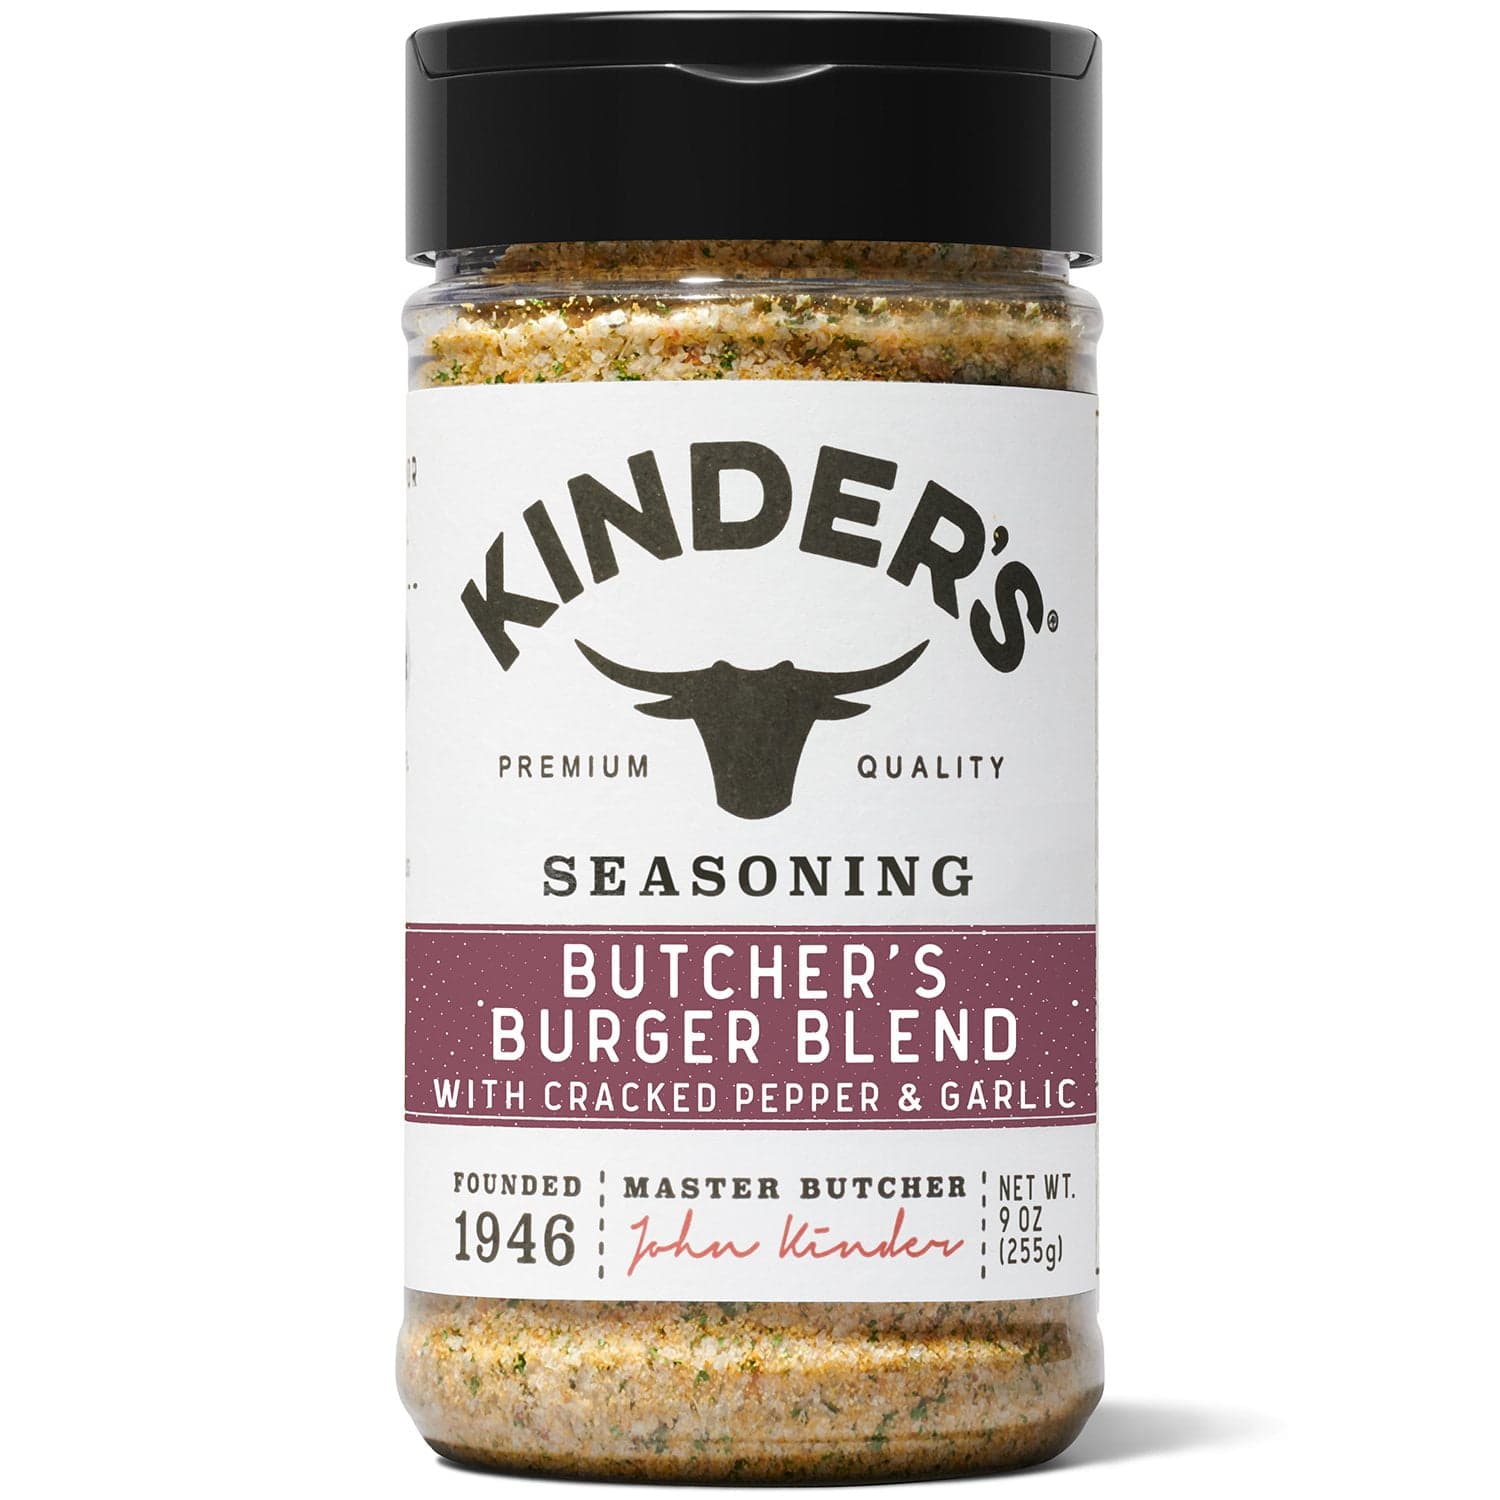
Kinder's Butcher's Burger Blend is purpose-built for this—black pepper, garlic, onion, and a hint of sweetness that caramelizes beautifully on the grill or in a cast-iron skillet. It's the kind of seasoning that makes people ask "what did you put on this?" without tasting like anything artificial.
Cooking Method: Grill vs. Cast Iron vs. Flat Top
Each method delivers a different result, and all three can produce an exceptional burger.
- Grill (charcoal or gas): Best for smoky flavor and outdoor vibes. Preheat to high heat (450-500°F). Oil the grates. Cook 3-4 minutes per side for medium, flipping once. Don't press down with a spatula—you're squeezing out juice and fat.
- Cast-iron skillet: Ideal for crust development and year-round cooking. Heat the pan over medium-high until it just starts to smoke. Add patties (no oil needed—the fat renders immediately). Cook 3-4 minutes per side. This method creates an incredible Maillard crust.
- Flat-top or griddle: The diner classic. If you have a Blackstone or similar, crank it to high. Great for smash burgers—place a ball of meat, press hard with a sturdy spatula for 10 seconds, let it cook 2 minutes, scrape and flip, cook another 2 minutes.
Add cheese in the final minute of cooking. Cover with a lid or aluminum dome to melt it fast. American cheese melts the smoothest, but sharp cheddar, Gruyère, or pepper jack all bring something special.
The Bun: Why Fresh-Baked Changes Everything
If you've never baked burger buns from scratch, this is your sign. A soft, slightly sweet, buttery bun with a tender crumb elevates the entire burger. It's not complicated—most recipes use pantry staples and take about two hours start to finish, with only 20 minutes of active work.
What makes a great burger bun: Soft but sturdy enough to hold up to juice and condiments. Slightly sweet to balance savory beef. A thin, golden crust that gives just a little resistance before yielding to the bite.
The classic recipe is a milk-and-butter enriched dough (similar to brioche but less eggy). You'll need all-purpose flour, milk, butter, sugar, yeast, egg, and salt. Mix, knead briefly, let rise for an hour, shape into buns, rise again for 30 minutes, brush with egg wash, and bake at 375°F for 12-15 minutes.
If that sounds like too much on burger night, prep the dough the night before and let it rise slowly in the fridge overnight. Shape and bake the next day. Or bake a double batch and freeze half—they thaw in minutes and toast beautifully.
Toasting Your Buns (Yes, Always)
Even a perfect bun needs a quick toast. Brush the cut sides with melted butter (or better yet, garlic butter) and toast face-down in a hot skillet or on the grill for 60-90 seconds until golden and fragrant. This creates a moisture barrier and adds textural contrast. It's the difference between a good burger and a great one.
Building the Burger: Layer Strategy and the Secret to No Sogginess
Order matters. A poorly assembled burger falls apart or turns into a soggy mess halfway through. Here's the pro stacking method, bottom to top:
- Bottom bun, toasted side up: This is your foundation.
- Sauce or mayo: A thin layer creates a moisture barrier. Mayo, burger sauce, ketchup-mustard mix, or garlic aioli.
- Lettuce: Crisp iceberg or butter lettuce acts as a secondary moisture shield between the sauce and the hot patty.
- Tomato: Thick slice, seasoned with a pinch of salt and pepper. Pat dry with paper towel to remove excess moisture.
- Patty with melted cheese: The star of the show, still hot.
- Pickles, onions, or other toppings: Pickles add acid and crunch. Raw onion gives bite; caramelized onion adds sweetness. Bacon, jalapeños, and sautéed mushrooms all have their place here.
- Optional second sauce layer: Especially good if you're adding caramelized onions or a sweet-savory element.
- Top bun, toasted side down: Press gently to marry everything together.
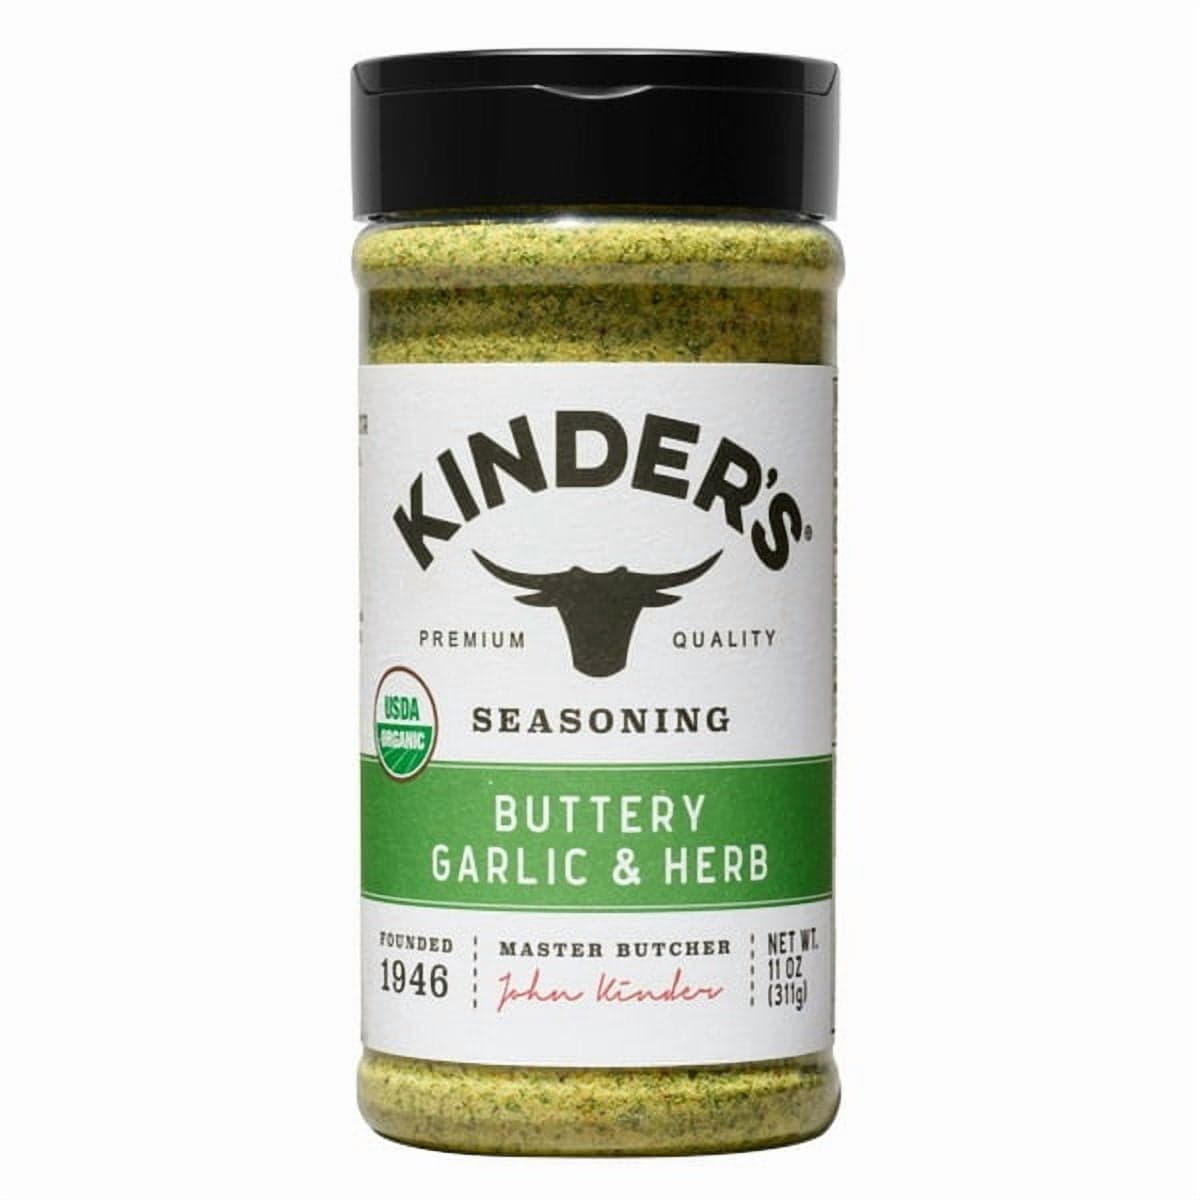
If you want to take the flavor up a notch, try seasoning the tomato and lettuce lightly, or mixing a flavored compound butter to spread on the top bun. Even a light dusting of Kinder's Caramelized Onion Burger Rub on the patty before grilling brings an extra layer of sweet, umami depth that pairs perfectly with sharp cheddar and pickles.
Triple-Cooked Fries: The Gold Standard of Side Dishes
If you're going all-in on homemade burgers, don't settle for frozen fries. Triple-cooked fries—popularized by British chef Heston Blumenthal—are crispy, fluffy, and worth the extra steps. The method involves three stages: boil, freeze, and fry twice.
Step-by-Step Triple-Cooked Fries
Step 1: Cut and Boil. Peel russet potatoes (the high starch content is key). Cut into 1/2-inch thick fries. Rinse under cold water to remove excess starch. Place in a pot of cold, salted water and bring to a boil. Simmer gently for 8-10 minutes until the exterior just starts to soften but the fries don't fall apart. Drain carefully.
Step 2: Freeze. Spread the parboiled fries on a sheet tray lined with parchment. Freeze for at least one hour, or up to a month. Freezing creates ice crystals that break down the interior structure, leading to an ultra-fluffy inside.
Step 3: First Fry. Heat oil (peanut, canola, or vegetable) to 250-275°F. Fry the frozen fries in batches for 5-6 minutes. They won't brown much—this step cooks the interior. Drain and let cool for at least 10 minutes.
Step 4: Second Fry. Crank the oil to 350-375°F. Fry the par-cooked fries again for 3-4 minutes until deep golden and crispy. Drain on paper towels, season immediately with salt (and optionally garlic powder, paprika, or a seasoning blend), and serve hot.
The result is fries with a shatteringly crisp exterior and a pillowy, almost creamy interior. They're better than any fast-food or restaurant fry you've ever had.
Pairing Your Burger with the Right Flavors
Once you've mastered the classic cheeseburger, the fun begins. Here are four flavor-forward variations that keep the fundamentals intact but add a signature twist.
1. Garlic Parmesan Steakhouse Burger
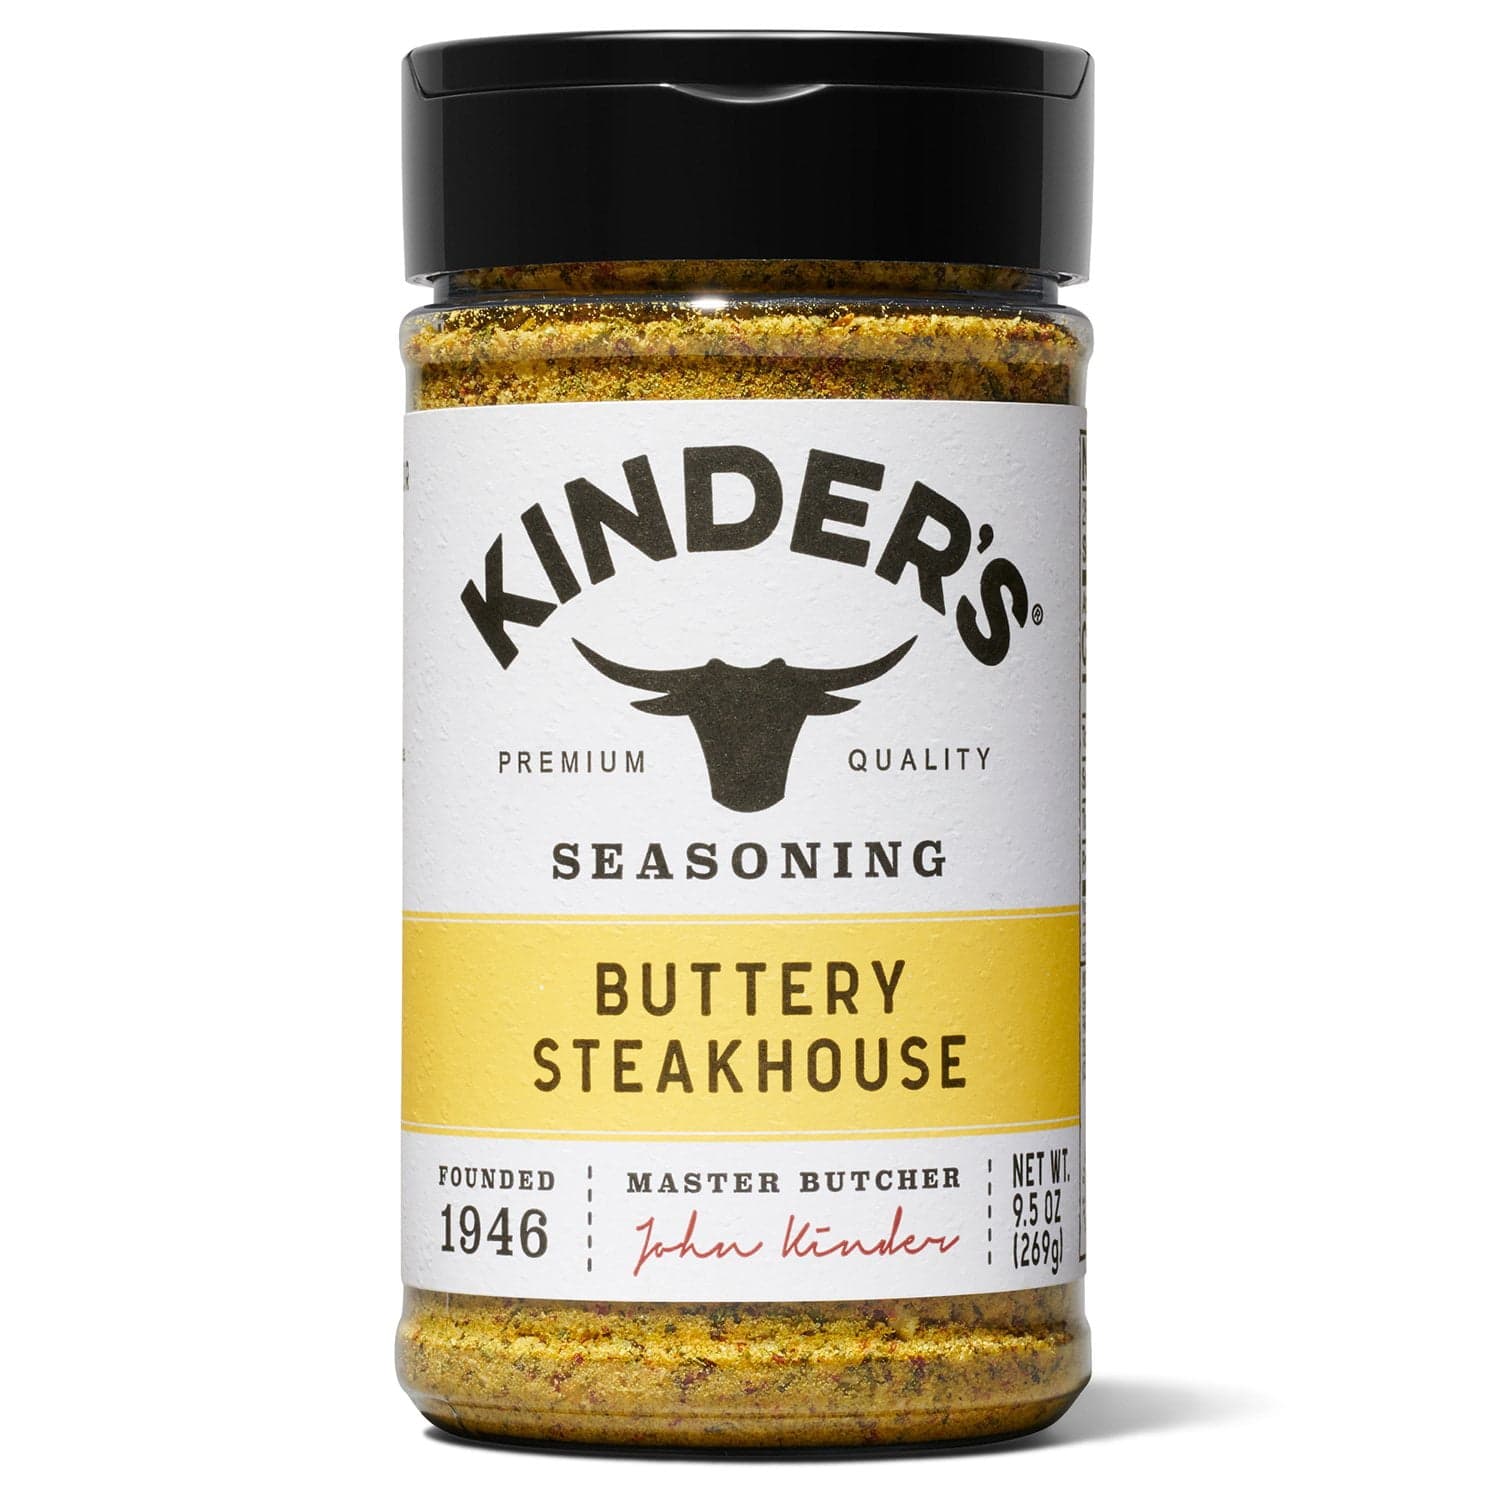
Season the patty with Kinder's Buttery Steakhouse Seasoning, which brings garlic, butter notes, and cracked pepper to the beef. Top with Parmesan crisps (bake small piles of shredded Parmesan at 400°F for 5 minutes until golden), arugula, and garlic aioli. This is the burger for people who love a steakhouse vibe but don't want to fuss with a knife and fork.
2. Bourbon BBQ Bacon Burger
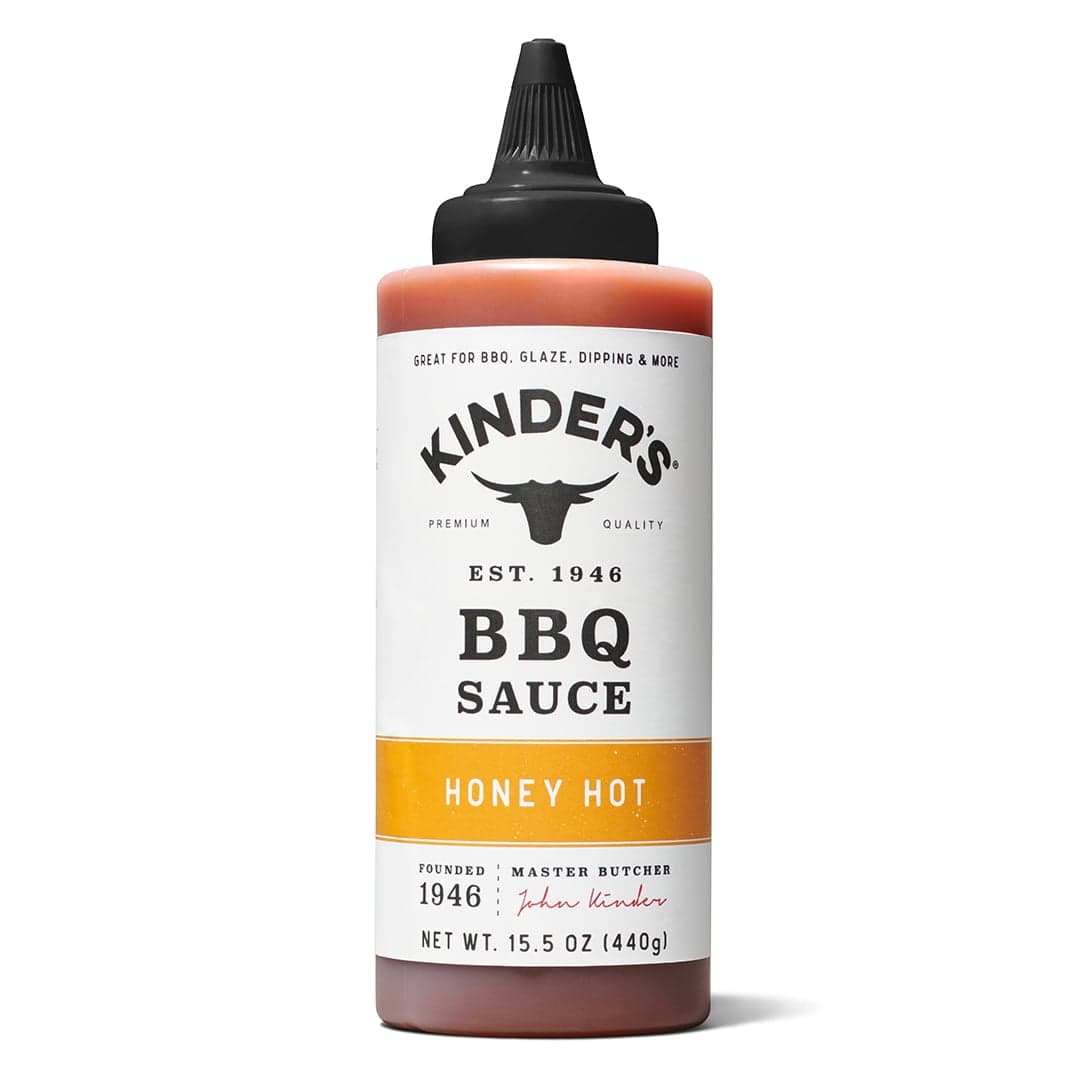
Brush the patty with Kinder's Bourbon Apple BBQ Sauce in the last minute of cooking. Top with crispy bacon, sharp cheddar, and thinly sliced red onion. The sauce's sweet-tangy profile balances the smokiness of the bacon and the richness of the beef.
3. Spicy Jalapeño Cheddar Burger
Mix finely diced jalapeño and shredded cheddar directly into the ground beef before forming patties (this is one exception to the "don't overwork" rule—mix gently). Cook as usual. Top with pepper jack cheese, fresh jalapeño slices, and chipotle mayo. For extra heat, add a dash of hot sauce to the mayo.
4. Mushroom Swiss with Caramelized Onions
Sauté sliced mushrooms in butter with a pinch of salt until golden. Caramelize thinly sliced onions low and slow in butter for 20-30 minutes. Top the beef patty with Swiss cheese, pile on the mushrooms and onions, and finish with Dijon mustard on the top bun. This is peak umami.
The Milkshake: Because Every Great Burger Needs One
A thick, creamy milkshake is the ultimate burger sidekick. Mint chocolate chip is a classic choice—refreshing, not too heavy, and the cool mint cuts through the richness of beef and cheese.
Basic formula: 3 scoops of quality ice cream, 1/4 cup whole milk, blend until just combined. For mint choc chip, use mint chip ice cream (or vanilla ice cream plus 1/2 teaspoon peppermint extract and a handful of chocolate chips). Blend until thick but pourable. Serve immediately in a chilled glass.
If you want to get fancy, rim the glass with crushed chocolate cookies, top with whipped cream and a cherry, or add a shot of bourbon for the adults. But honestly, a simple, well-made shake is perfect as-is.
Timing Your Burger Night (So Everything Hits the Table Hot)
The biggest challenge of a from-scratch burger dinner is timing. You want the fries crispy, the patties hot, the buns warm, and the shake cold—all at once. Here's a game plan that works:
2 hours before: Start your bun dough (if baking fresh), or pull frozen homemade buns to thaw.
1.5 hours before: Shape buns, let them rise. Start your triple-cooked fries (boil and freeze—or if you prepped them ahead, pull from the freezer).
45 minutes before: Bake buns. Prep all burger toppings (slice tomatoes, wash lettuce, prep sauces). Form patties and refrigerate.
20 minutes before: First fry for the fries. Let them rest. Preheat your grill or skillet.
10 minutes before: Second fry for the fries. Keep warm in a low oven (200°F).
5 minutes before: Cook patties. Toast buns. Blend milkshakes.
Showtime: Assemble burgers and serve immediately with hot fries and cold shakes.
It sounds like a lot, but once you've done it once, the rhythm clicks. And the payoff—sitting down to a restaurant-quality burger you made from scratch—is unbeatable.
Common Mistakes and How to Avoid Them
Overworking the meat: Handle ground beef as little as possible. Form patties gently and avoid compressing them.
Under-seasoning: Burgers need more salt than you think. Season boldly right before cooking.
Flipping too often: Flip once (maybe twice if you're doing a smash burger). Let the crust develop undisturbed.
Skipping the rest: Let cooked patties rest for 2-3 minutes before building the burger. This allows juices to redistribute.
Soggy buns: Always toast. Always use a sauce or mayo barrier between wet ingredients and bread.
Dry patties: Don't cook past medium. Use a meat thermometer if you're unsure—pull at 135°F for medium-rare, 145°F for medium.
Why This Recipe is Going Viral (and How You Can Make It Your Own)
The Reddit post that inspired this guide hit a nerve because it's real. No professional kitchen, no sponsored content, just a home cook who took the time to do it right and shared the results. People are hungry for that—literally and figuratively.
The beauty of the homemade burger is that it's endlessly customizable. Swap the beef for turkey or plant-based patties. Experiment with brioche, pretzel buns, or ciabatta rolls. Add fried eggs, avocado, or grilled pineapple. Build a sauce bar and let everyone customize their own.
The fundamentals stay the same: quality ingredients, proper technique, and a little bit of care. Master those, and you'll be the person people talk about when they say "you have to try their burgers."
Ready to Build Your Best Burger Yet?
You don't need a culinary degree or a $5,000 grill to make an unforgettable cheeseburger. You need good beef, the right seasoning, a hot cooking surface, and the confidence to trust the process. Whether you're feeding your family on a Wednesday or hosting a backyard cookout, this is the kind of meal that brings people together and makes them reach for seconds.
Start with one component—maybe you nail the patty this week and try homemade buns next time. Or go all-in and make it a weekend project. Either way, you're building skills that'll serve you for life. And when someone asks how you make burgers this good, just smile and say "from scratch."
Ready to level up your burger game? Grab a quality seasoning blend, fire up your grill or skillet, and get cooking. Your best cheeseburger is waiting.
Shop the products mentioned in this article
Free shipping on every order. No minimums, no gimmicks.